Getting Started
Our project documentation is still in development. We have a public release scheduled soon, and the documentation will be more complete by then. Please note that the current documentation is not final and more information will be added over time.
Run in the terminal:
npx @fernir2/saas-kit-cli@latest create test-app
This project uses PostgreSQL, so make sure you have it installed
Also, make sure that your environment is properly configured in your .env file:
DATABASE_CONNECTION_STRING = "postgresql://postgres:root@localhost:5432/saas-kit";
By default, the values are:
- user — postgres
- password — postgres
- host — localhost
- port — 5432
If your local settings are different, edit these values accordingly.
Then run:
npm install
# Create tutorial folder
mkdir -p src/app/tutorial
# Create file
touch src/app/tutorial/student.resource.ts
In SaaS Kit everything revolves around resources. Resource is an entity in your system, it can be a database
table or api endpoint or business object. Order, Contact, Address or User can be examples of resources.
They are called resources because of Uniform Resource Locator (Url).
Let's create Student resource, add the following code inside student.resource.ts file:
@resourceMetaId("d4507481-8b33-46e7-9c2e-606daab170cc")
export class Student extends WorkspaceResource {
    name!: string;
}
Resolve import for @resourcePropertyId so you don't have red squiggly lines. Going forward we will assume that you are going to resolve imports by yourself.
Resource files must end with .resource.ts extension and they need to have @resourcePropertyId decorator with
randomly generated Uuid. Let's start the app:
npm start
In the future you can choose an alternative way for starting the application:
npm run dev
start will generate metadata files and seed database every time, and dev skips of that and is much faster.
After starting the application, verify that the resource was properly created in your PostgreSQL database:
- Connect to your PostgreSQL database using your preferred client (psql, pgAdmin, etc.)
- Check that the
studenttable was created automatically - Verify the table structure has
namecolumn
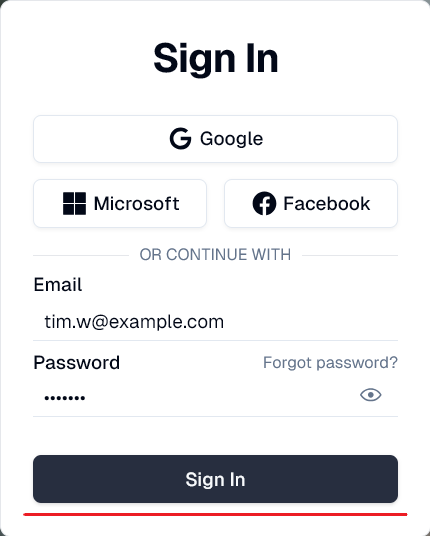
Once the database setup is verified, open it in the browser. Click Sign In.
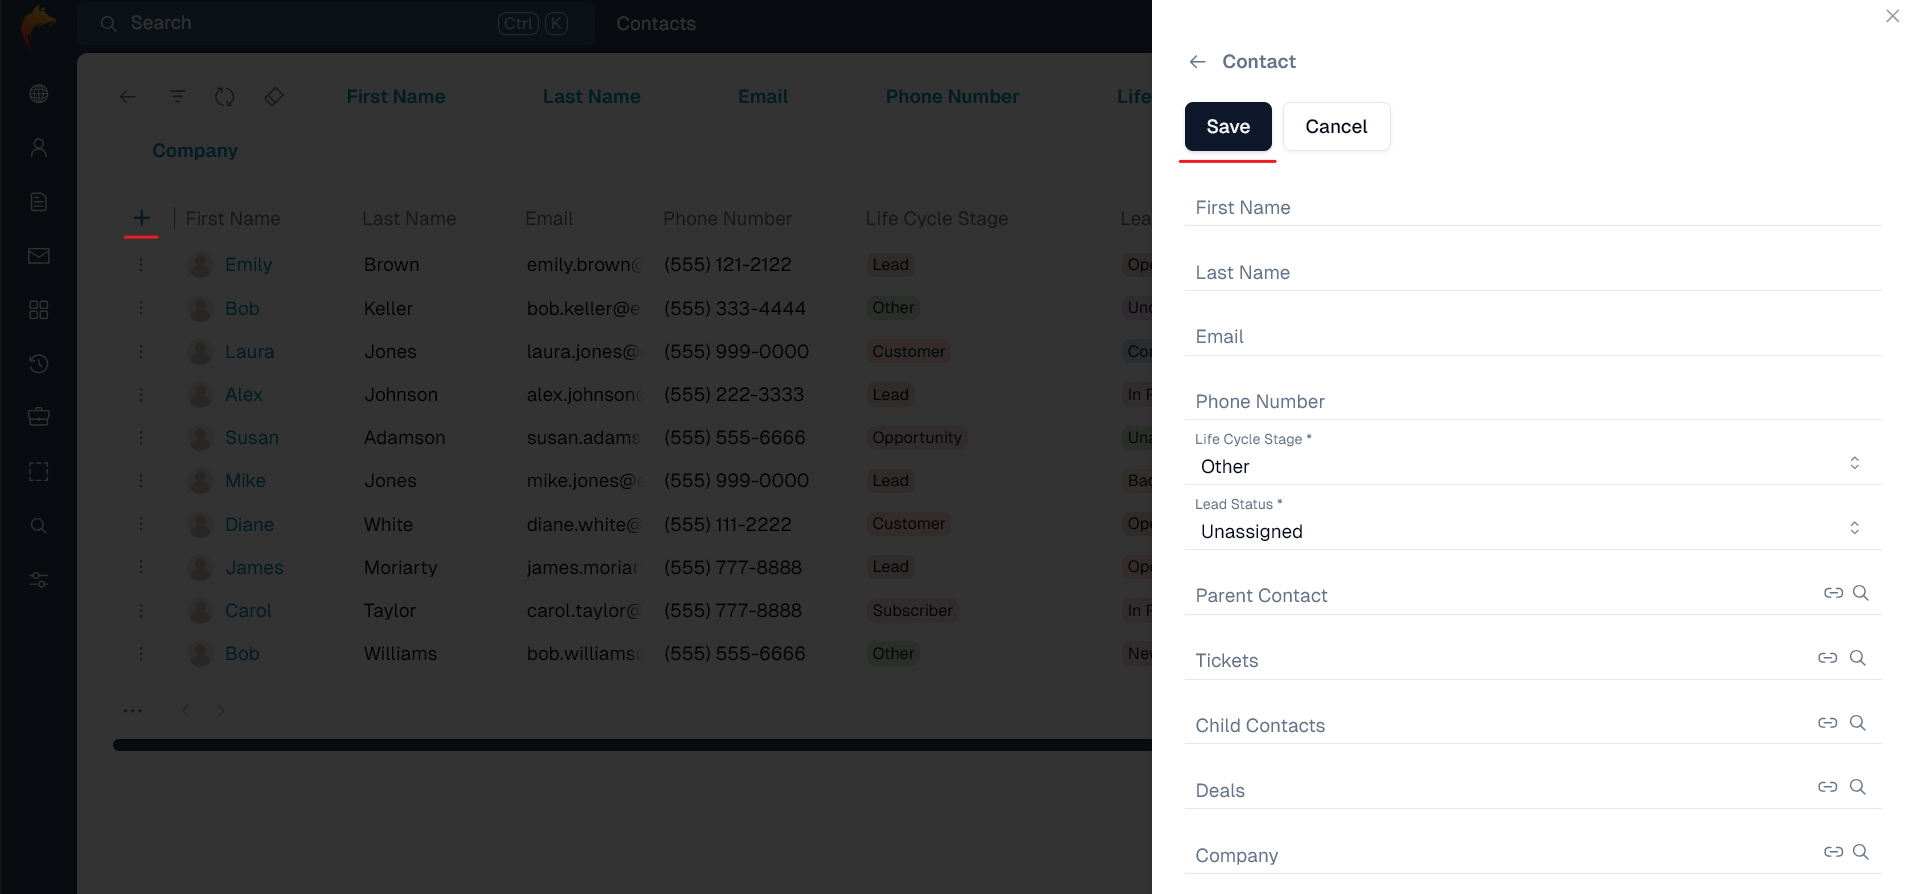
Then go to /view?resource=Student page to see Student resource.
Click on + button to add a Student. Fill in all nessesary fields and click Save button.
Adding resources to Sidebar
To have easier access to resource you can add it to Sidebar.
To add Student to Sidebar go to layout.tsx where you will find ClientRoot component
and add to the component's sideBarResources prop
with Student in it:
<ClientRoot sideBarResources={["Student"]}>{children}</ClientRoot>
Resource relations
Saas-kit automatically understands relations between resources. For this you just need to follow our code conventions. For example:
- Create Teacher resource that you want to connect to Student resource:
@resourceMetaId("783cbb56-0ee2-4d78-b7f1-2e139c8738d3")
export class Teacher extends WorkspaceResource {
    name!: string;
}
- Add links to each other to create relation between Student and Teacher resources.
For an one-to-many relation you need to add a
{resource}Idfield to first resource and a{resource}Listfield to second resource:
export class Student extends WorkspaceResource {
    name!: string;

    teacherId?: string;

    teacher?: Teacher;
}

export class Teacher extends WorkspaceResource {
    name!: string;

    studentList?: Student[];
}
- Use
npm startcommand to create the relation.
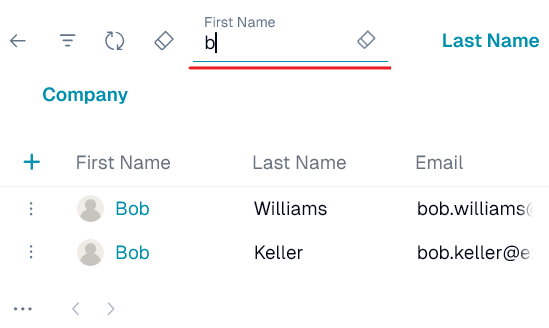
Now, going to view?resource=Student and looking upwards there appears new filter Teacher.
You can click on it and choose a Teacher to filter Students by.
If you want to add Teacher column to Student ResourceList, you can add decorator @expandDescription to Student resource:
export class Student extends WorkspaceResource {
    name!: string;

    @expandDescription()
    teacherId?: string;
    teacher?: Teacher;
}
Getting resources
On frontend
Use fetchResource() when you need to fetch a single resource:
const student = await fetchResource<Student>("Student", studentId);
Use fetchResources() when you need to fetch a list of resources:
const students = await fetchResources<Student>("Student");
On backend
Function getResourcesByName() gets resources by name from database:
For Student resource function returns array of Student:
const students = await getResourcesByName<Student>("Student");
Function getResource() gets a resource by its configuration object GetResourceConfig:
Function throws an error if resource isn't found:
const students = await getResource<Student>({
    resourceName: "Student",
    id: studentId,
});
Most common decorators
Here are the top 5 most commonly used decorators — check out the documentation to learn more about them: